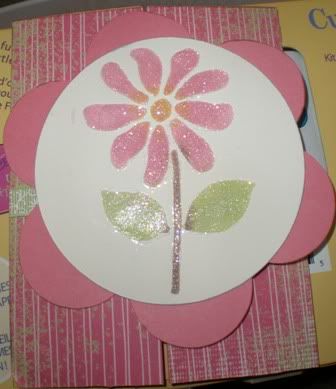
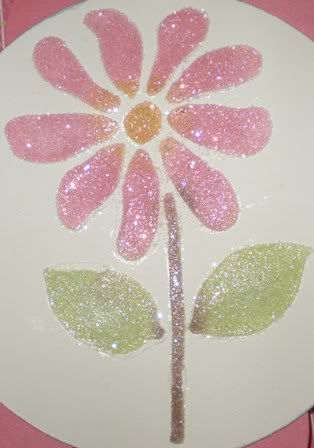
I saw a demonostration with Embossing Paste at a Rubber Stamp and Scrapbooking Expo I went to recently and thought I'd try it out on my own and here is the result:


The task itself was quite easy and quick, I just had to make sure I cleaned off the tools I used before the paste dried - which I did.
Supplies for this project:
- Light Table
- Stencil
- Cardstock
- Chalk & Brush or Ink Pad & Daubers
- Repositionable Tape
- 1-2 Cups of Water (for putting tools in after use until you can scrub them)
- Old Toothbrush
- Embossing Paste (I used translucent)
- Embossing Paste palette knife
- Squeegee
- Glitter and Glitter Tray (optional)
Steps for using Embossing Paste (as I did):
- Adhere stencil to cardstock and light table with repositionable tape
- Use chalk or ink of your choosing to color the cardstock with the stencil
- Use the palette knife to scoop the embossing paste (make sure you close the lid on the paste to ensure it doesn't dry out) and run it across the stencil and your cardstock - place the knife in a tub of water or something where it can stay moist until you can come back to it and clean it
- Use the squeegee to ensure the paste gets in all the grooves and return excess paste to the jar - place in the tub of water
- Quickly remove the stencil from the cardstock and place in the tub of water
- You may leave as is or add glitter as you would anything else
- Take the toothbrush and scrub the items you placed in water until they are free from all paste residue
- Let your finished work dry for 30-40 minutes
You can find more info on using Embossing Paste by visiting Dreamweaver Stencils
Until next time!


No comments:
Post a Comment