I've had some questions regarding my redesigned craftroom, so I thought I'd go into a little more depth in my room reveal.
Warning: this will be a super long post!
Now let me start by saying that during this renovation I learned that my craftroom size is a little less than 10' by a litte more than 13'. I guess having normal dimensions would have been too easy. I also learned that my room isn't the same size all around and that became quite annyoing when installing the floors.
If you've followed my blog you have probably noticed that I have revamped my craftroom quite a few times. It has probably been at least 5 times within the last year. I guess it just took me awhile to find out what worked for me and what helped jump start my creative juices. I am quite satisfied with this redo and am committed to trying to keep it this way until I can move and create a larger craftroom space. The one thing I would love to have but will not invest in at my current home are granite counters with underneath cabinet storage. I drool when I see craftrooms with this design element. Ideally I would love cabinet doors that can be opened and hidden when I want to see all of my goodies but closed when I want my space to look tidy. What do we have to live for if we don't have dreams, right?
Anyway, moving on to my vision for this redesign. I absolutely HATE white walls so paint was a must. I was also hoping for new flooring but funds just wouldn't allow it. Thanksfully, my wonderful friend, Michelle, donated some flooring so my hope could become a reality. Thanks Michelle!!
As they say, A picture speaks 1000 words, so enjoy the view!
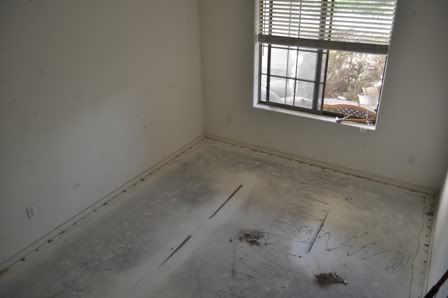
First, in case you missed the previous post, this is how my room used to look:

Here are a couple construction photos:
Oh look, new paint and flooring:

Everything back together again:
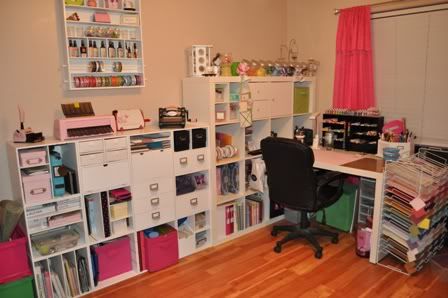
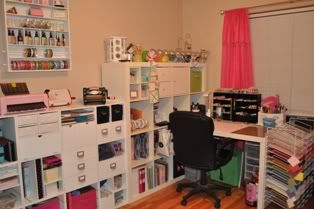
Now for the details...
When I designed my room I wanted to have a variety of stations setup. Due to space, I couldn't create a ton of stations but I did create an Embossing Station which I'm quite happy with.
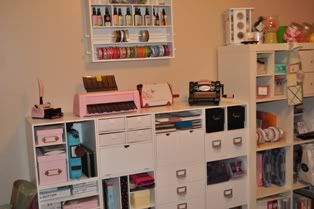
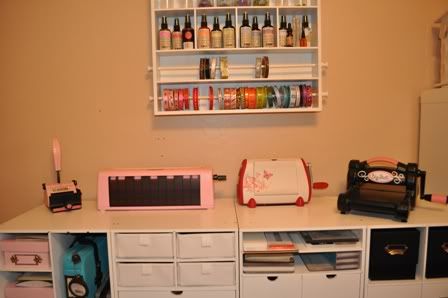
I keep my Sizzix Big Shot, Cuttlebug, Zutter DreamKutz, and my Zutter Bind-it-All here. In the cubbies below I keep everything related to these tools, i.e. embossing folders, Sizzix dies, Cuttlebug dies, Nestabilities, binding rings, and other Zutter related products.


The Jetmax storage cubes for this side of the room were purchased from Michael's. I purchased most of them on Thanksgiving Day so they were a great deal at 55% off!
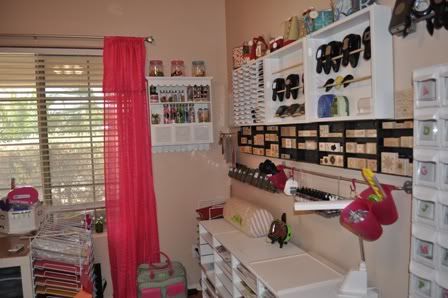
From there, we'll take a look at my desk space.
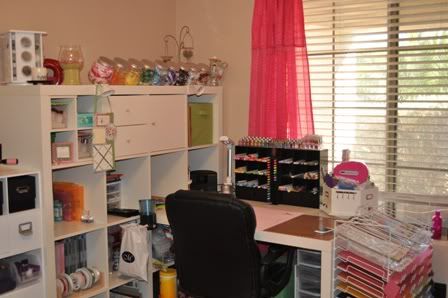
My desk is part of the Expedit line from Ikea (I LOVE Ikea). On my desk, I keep my Copic Markers, Glitter, Cutting Mat, Making Memories spinning organizer thing (sounds like a good name to me), and my Ott Light (love this thing!).
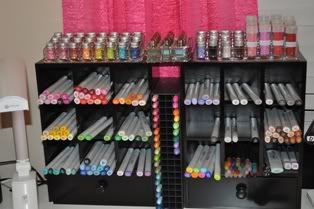
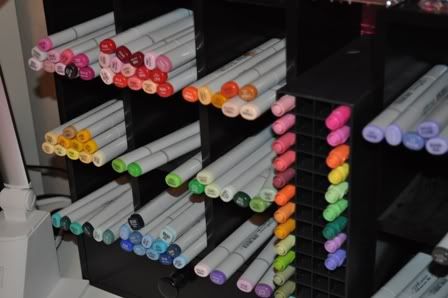
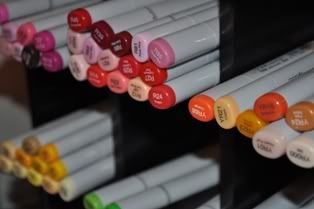
Sadly, the little storage cube I use for my Copic Markers is no longer available to purchase. I'm not sure what I'll do if I outgrow it!
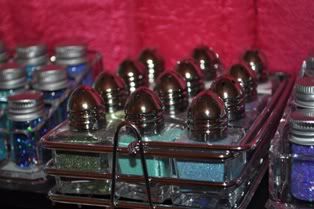
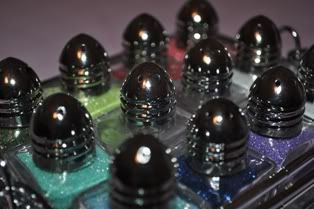
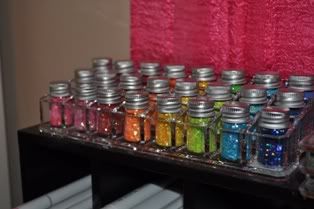
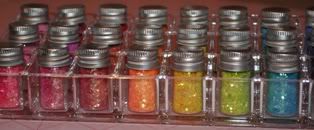
As for my glitters, I saw an idea on another blog (forgive me for forgetting where) about storing glitter in the little salt and pepper shakers. I LOVE the idea but I also LOVE some of the containers my glitter already comes in so I have a combination of glitter storage ideas.
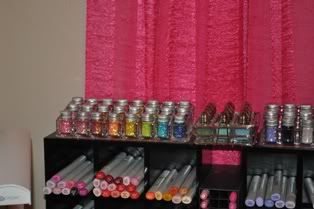
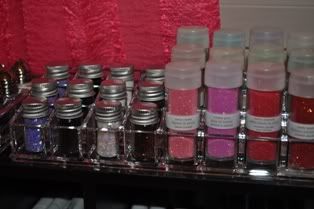
I store my generic glitter in the salt and pepper shakers.

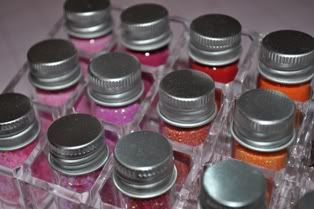
My Doodlebug and Martha Stewart Glitters (I might change the MS to salt & pepper shakers too) are currently stored in lipstick holders purchased from The Container Store. I think the Doodlebug containers are adorable and didn't want to replace them.

Above my desk is where I store my loose ribbon. I also have rolls of ribbon stored above my embossing station but as my loose ribbon gets used up, I will be removing my ribbon from the rolls and placing them here too.


I purchased these jars at Michael's in the storage area. Discount shopping is the best way to fulfill your storage needs!
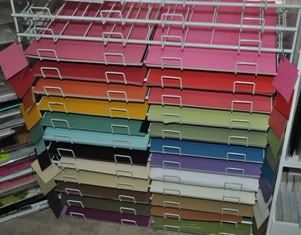
Moving on to the right side of the room. Here is where I keep my wood stamps, ink pads, punches, patterned paper, cardstock, my Cricut Expression, and other miscellaneous items.
I created a paper corner to keep all of my CTMH paper organized. I also have other branded paper stored in this area.

That green and pink bag on the floor holds my Cricut cartridges (purchased from CricutMachine.com).
Here's a closer look at how my CTMH paper is stored:
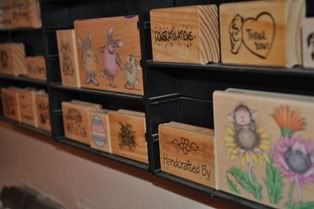
Here are my wood stamps stored in Croppper Hopper Stamp Shelves:

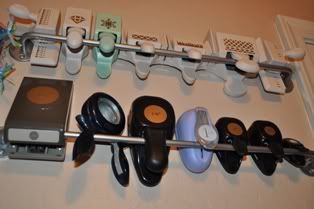
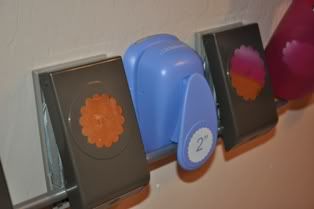
My punches are stored on both a shelf purchased from OrganizeMore.com and rails from Ikea.

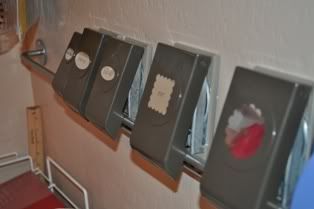
Also on this side of the wall are my ink pads (also in a storage solution from OrganizeMore.com), re-inkers (held in a basket from Ikea), and my Chipboard letter storage (in containers from The Container Store).


On the other side of the room is my TV area (another Expedit piece from Ikea), which also houses my CTMH stamps in Sterilite CD bins. Inside the green bins (also from Ikea) are my Stampin Up! clear stamp sets and other miscellaneous loose items. In this area, I also keep my card carousel where I store my cards for inspriation and my Clip-it-Up organizer where I store my stamps for coloring (Bildi, Magnolia, C.C. Designs, etc.) and my CTMH Level 2 Assortment packs.
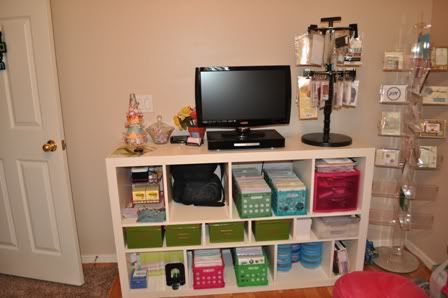
This picture was from before the redesign but I still store my stamps the same way:

Here, you will also find my embossing powders (all in their own plastic container from Ikea)

Lastly, my quote of inspiration (this is above my door and it was purchased from Stampin Up):
I hope you enjoyed my craftroom tour. I thought of making a video but I wasn't happy with the results of my attempts. One of these days I'll create one.
If you have any other questions, please leave a comment or contact me directly and I'll assist you as much as possible.
If you are interested in past posts regarding organization, please click here
Until next time!